While I work on my guitar looper project, I had some problem I wanted to solve in regard to discord. As many other people I’m part of a few different Discord communities and that means postin random thing all over - so Linky bot came to life!
TLDR: The whole code for the bot can be found here: Github link
So I wanted to create a discord bot for a while just to get to know how that works. So the process in itself is easier than I thought.
Setting up the Bot
- Firstly you just need to create a new application on discord app dashboard.
You will be prompted with a modal to input a name of the bot and Create it!
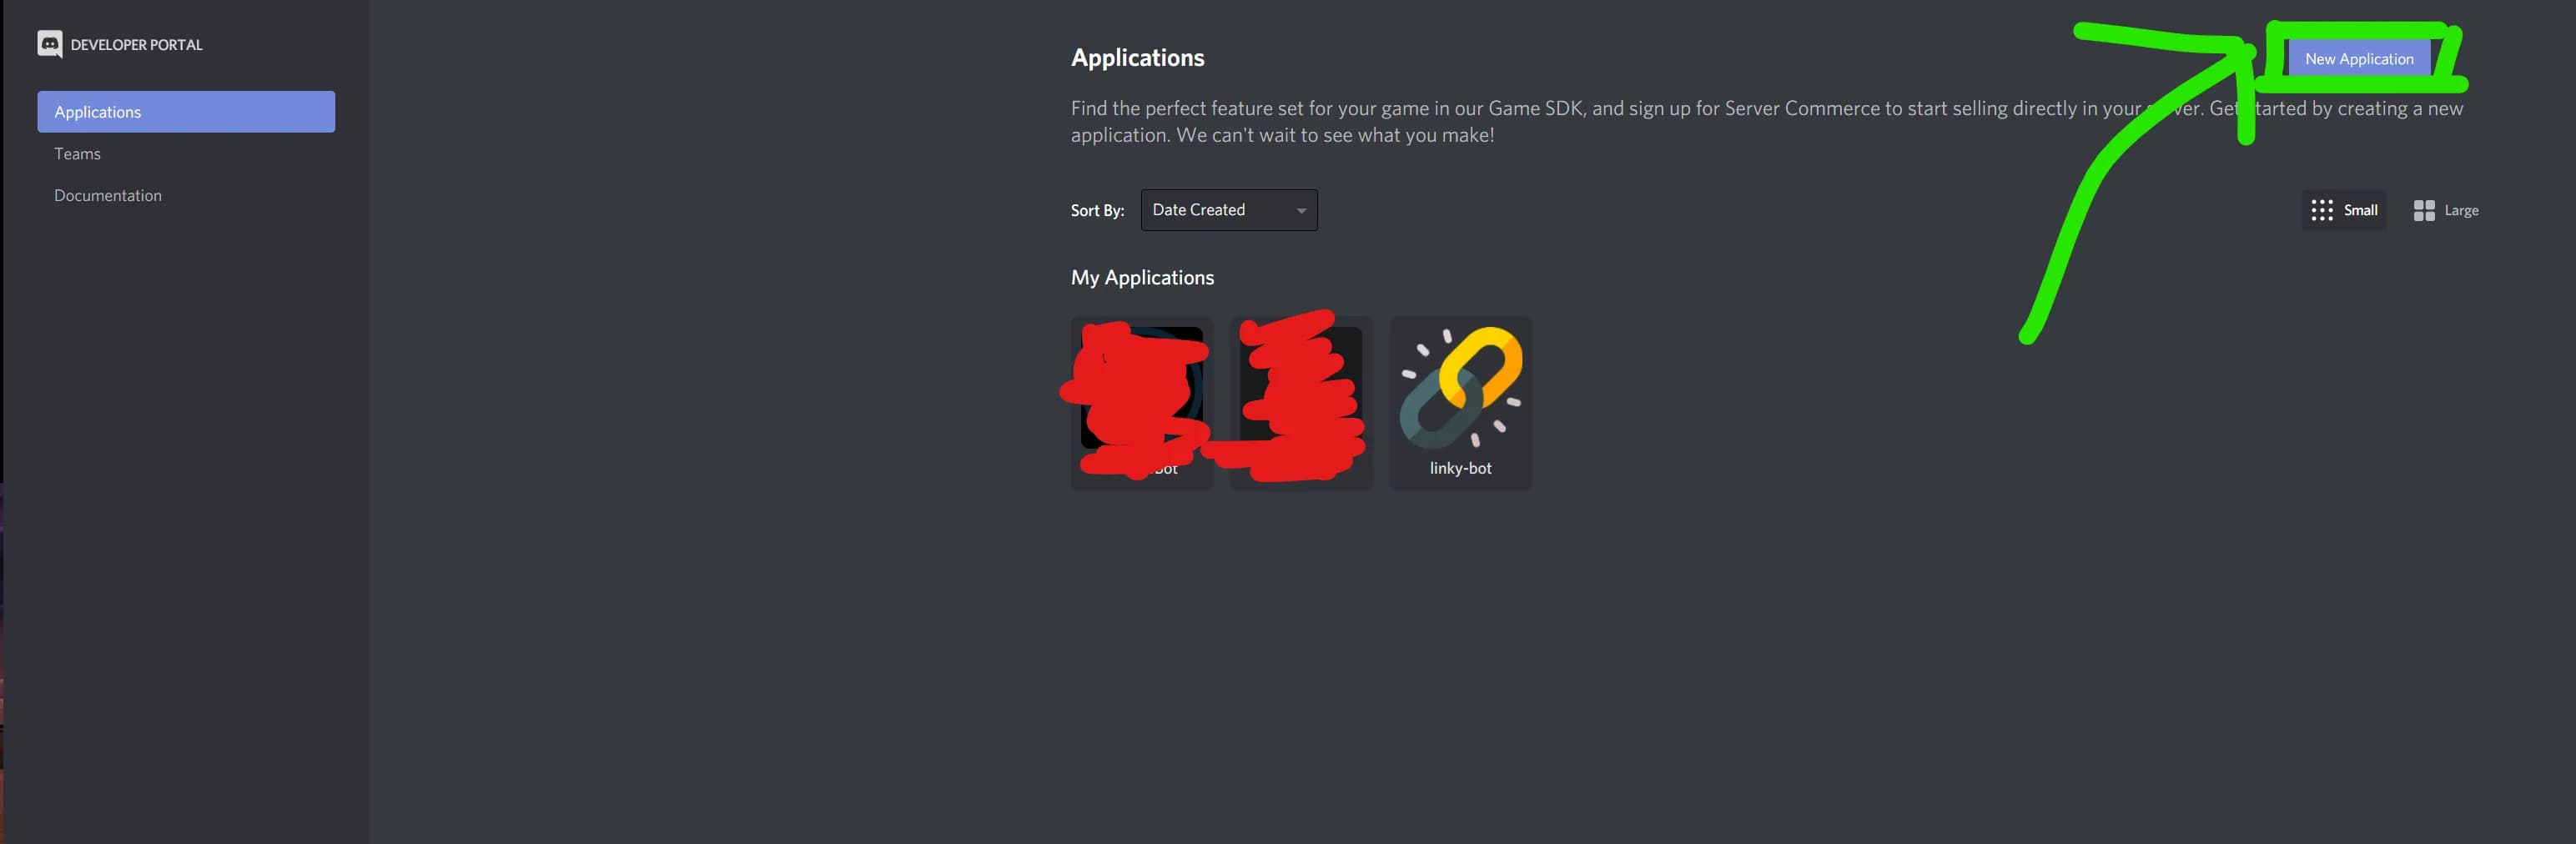
- After you have done that you will be redirected to the
Application pageand should look something like this:
I’ve added a fancy Icon and also there are some overview of your current app.
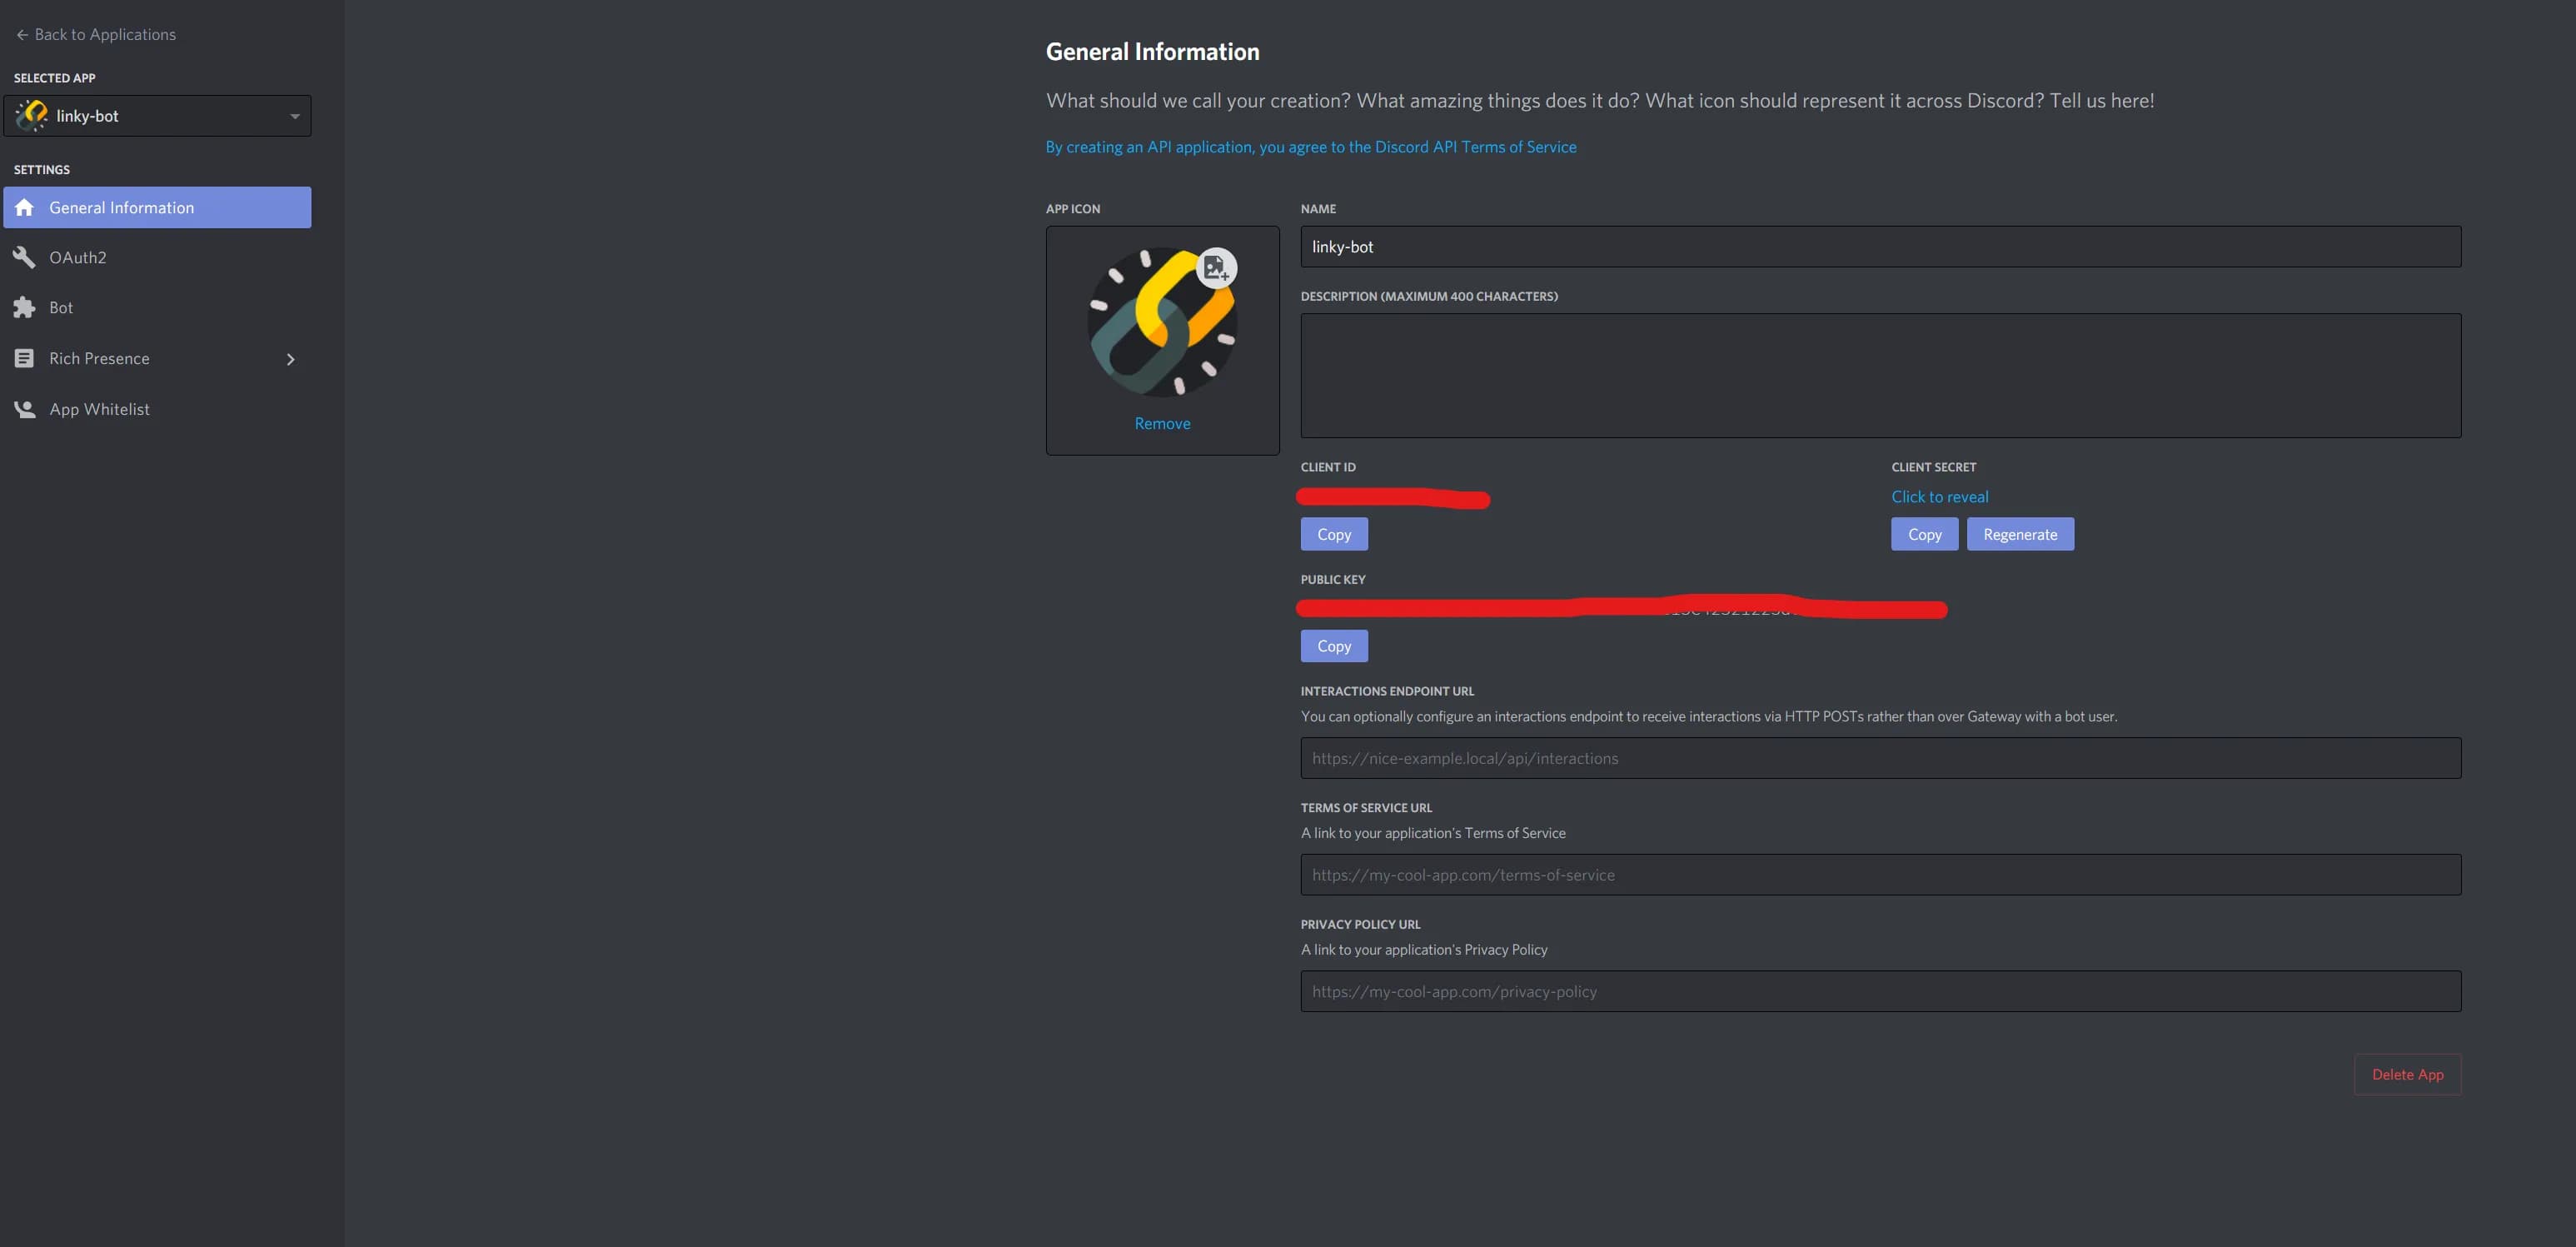
-
Next up, we want to go to the
Botsubpage and hitCreateand this is all that needs to be done here -
Now, the thing which confused me in other guides is the next step. They say that in the
Bottab there is a link which will add my bot to the discord server, but it is not.
To create an invite, scroll down and select bot under scopes. You must also set permissions to control what actions your bot can perform in guilds. For the purposes of this tutorial, select Administrator, which will give your bot permission to perform nearly all actions in guilds. Copy the link with the Copy button.
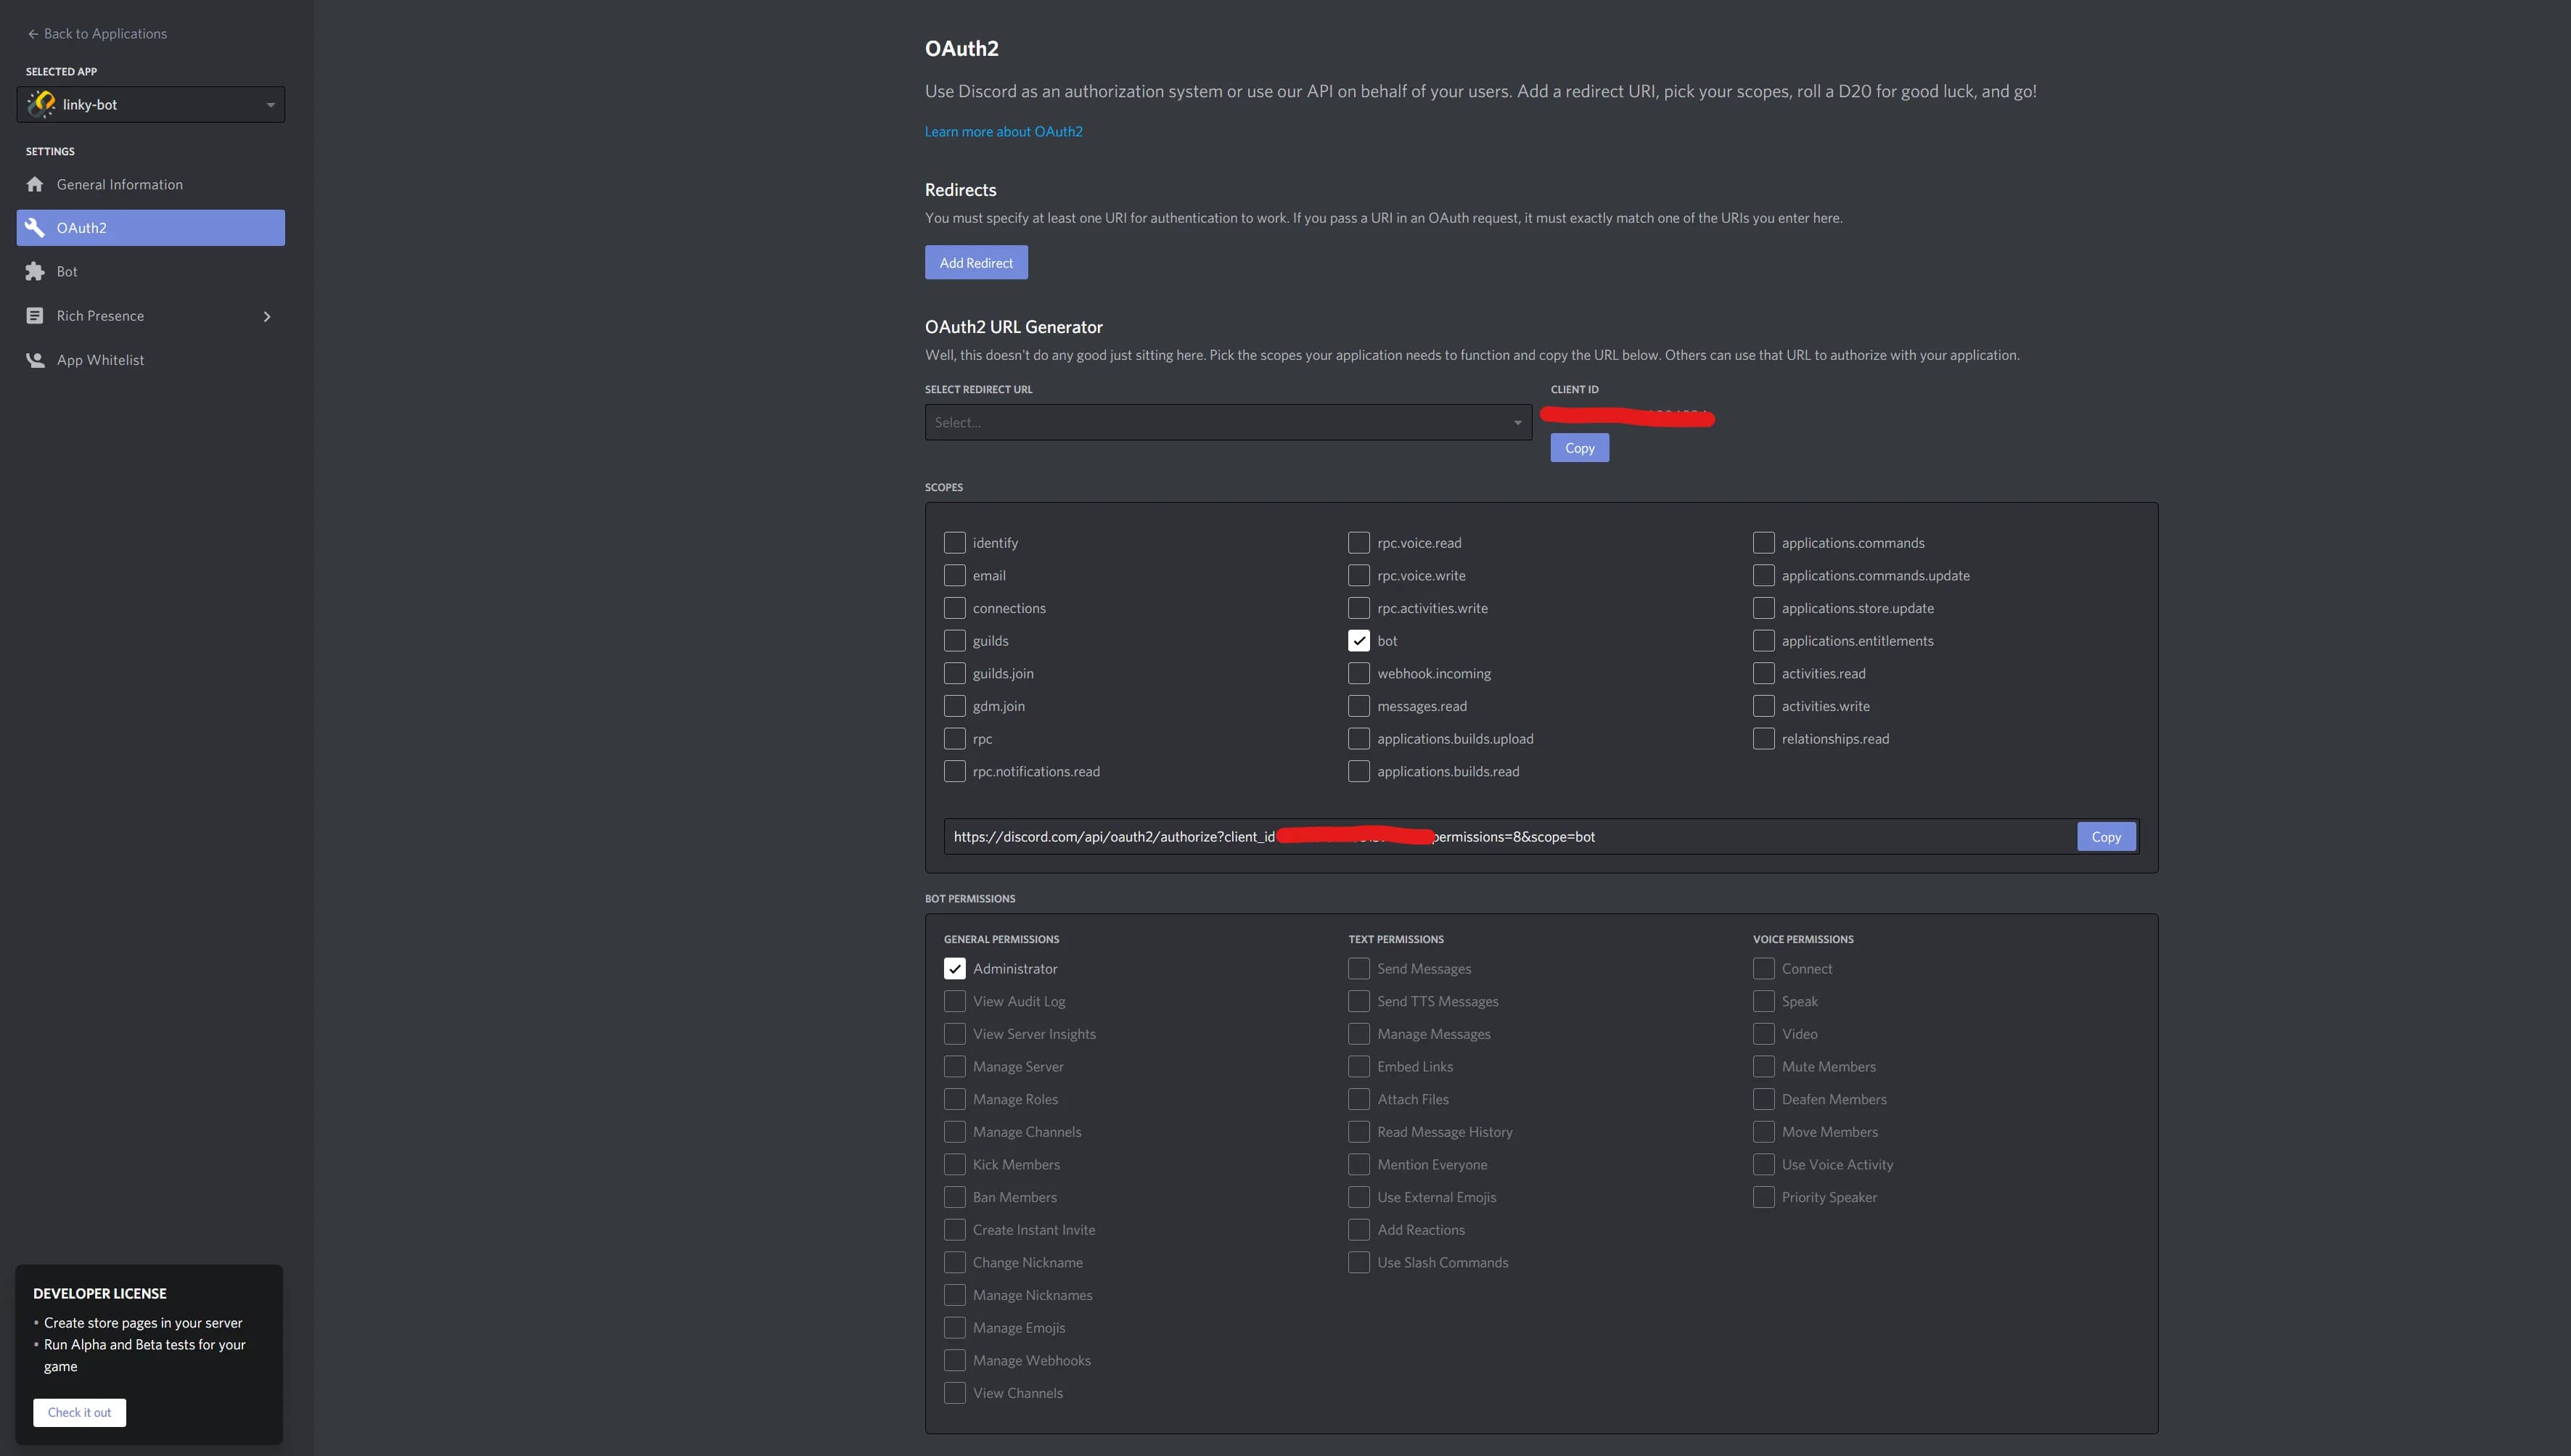
Disclaimer - The thing you will need from here is the Token and be careful ALWAYS keep the token secure as it allows anyone to log in to your bot.
Now you can open the link in the browser and you will be greeted with the window to add the bot to one of the channels you are part of:
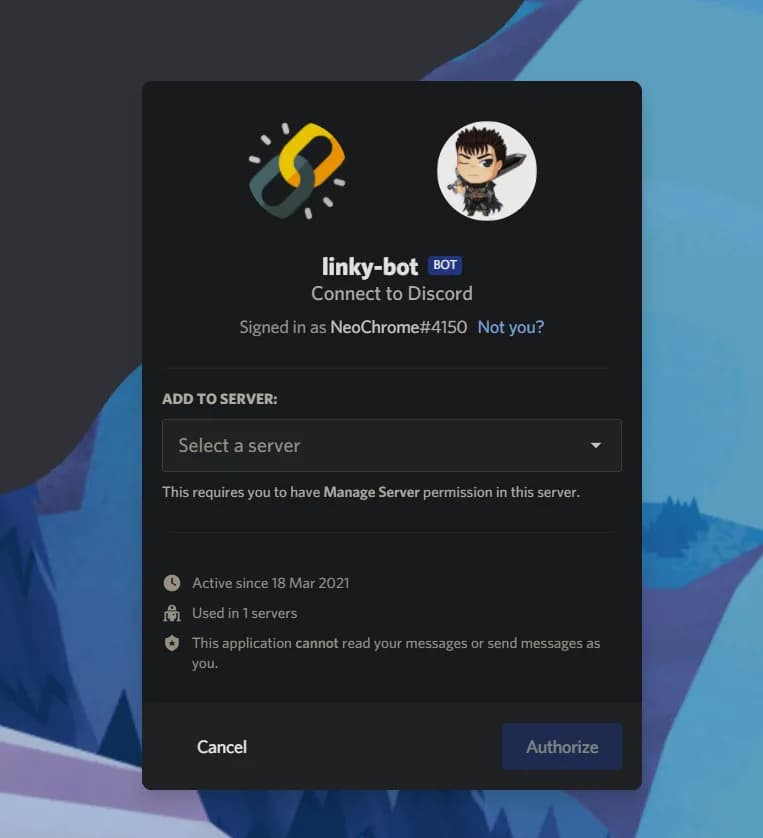
And you should see your Bot in the users list (for you it will be offline probably - but we will come to this later)
Now, to the fun part!{" "}
Coding the Bot
First, you need to set up a project folder and necessary project files for the bot.
$ mkdir linky-botMove into the folder
$ cd linky-botCreate a new file config.json - with touch confi.json or vim config.json and add the following:
{
  "BOT_TOKEN": "TOKEN VALUE WHICH YOU COPY FROM THE DASHBOARD"
}
Save and exit the file.
Next up we need to create a node project, this should be as easy as running npm init, follow the “wizard” (just press enter for now its not important) and after that you should have a package.json in your folder.
Now we can install the required packages.
npm install discord.jsand then create a index.js where we will be coding the bot now!
The first thing todo in the index.js is to write the following
const Discord = require("discord.js");
const config = require("./config.json");

const client = new Discord.Client();
client.login(config.BOT_TOKEN);
The first line of code creates a new Discord.Client and assigns it to the constant client. client is partly how you will interact with the Discord API. The client is essentially the discord bot.
The second line includes the config.json and the value from it which is the BOT_TOKEN.
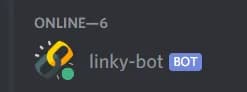
If you execute now the index.js with node index.js your bot should be shown as ONLINE in the discord channel
Congrats, the Bot is alive!
Setting up bot commands
You need to detect and receive messages users send so you can process any commands. Using the on method on the Discord client, Discord will send you a notification about new events.
client.on("message", function (message) {});With this method you can wait for the event message—this will occur every time a message is sent to a channel where the bot has permission to view messages.
This function, which runs on the message event, takes message as a parameter. Message will be the instance of a Discord.js Message (more details can be found in the discordjs documentation) and it contains information about the sent message.
client.on("message", function (message) {
  if (message.author.bot) return;
});
This line checks if the author of the message is a bot, and if so, stops processing the command. This is important as generally you don’t want to process, or respond to, bots’ messages.
Now we will write a command handler.
A “standard” discord command looks like this:
!add 123! - is the prefix, the prefix can be anything. However, most people just use the ! as its the easiest to remember.
add - is the command name which the user wants the bot to execute. We can have multiple commands for a bot.
123 - in this case its just a number argument which is a piece of data which will be handled by the bot.
const prefix = "!";

client.on("message", function (message) {
  if (message.author.bot) return;
  if (!message.content.startsWith(prefix)) return;
});
Now this piece of code sets up the prefix and then the second if statement adds checks if the content of the message the bot is processing begins with the prefix you set, and if it doesn’t, stops the message from continuing to process.
if (command === "ping") {
  const timeTaken = Date.now() - message.createdTimestamp;
  message.reply(`Pong! This message had a latency of ${timeTaken}ms.`);
}
This above code adds a ping command and when called it returns a message saying Pong! This message had a latency of <number>ms.. So we have a basic ping command added to our bot.
This way we can add different commands to our bot, if you need more information and examples you can checkout the linky bot I made on github
Linky bot has these commands:
links - Shows all stored links for the called channel
show - Number of links stored in the channel
store - goes to the message history and stores the links in a File
And now we have a basic bot with some functionality that you can edit to whatever you want!
Deployment
To deploy the bot and have it running 24/7 so everyone can use it, is “simple”.
You can use services like Heroku for free to create a dyno and host it there, however, after some time of inactivity the bot will be unresponsive - at least I had the problem where it would not spin up because the Heroku dynos are going to sleep after 30 minutes of inactive time.
Now the second option, would be renting a server / VPS like on Digital Ocean, linode or Vultr, and create a basic server and host it there. The downside to these services is that you will need to pay some money monthly to keep it running.
And the third option hosting it on your own server / pc, which I currently doing - to be exact on my Raspberry pi. Since I have a static IP address I have the ability to host the Bot on my raspberry without the need to turn it off.
This is just a small crash course on how to set up a discord bot using JS and how to deploy it on a server, hope this was fun!